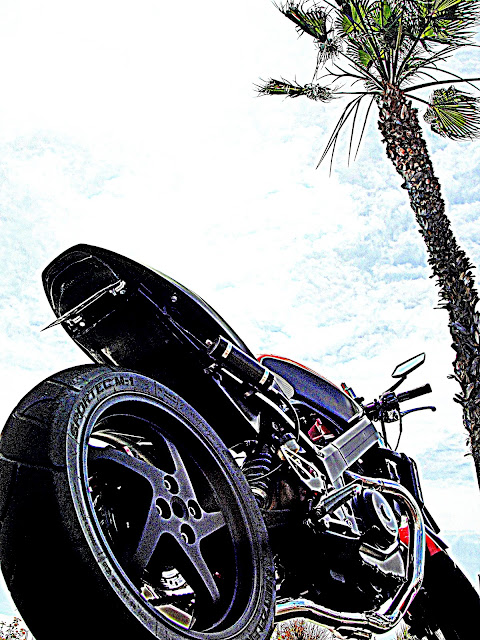
I'm not much of a fabricator when it comes to motorcycles only because I don't have all the necessary tools to it. It's tough to fabricate something with just your basic around the house type of tools. It can be done, but normally they turn out looking ugly. Now having a CNC (computer numerical controller) machine would be a nice addition to my set of tools.
So I bought some Honda F4i rearsets online which costed me $50 for everything. That includes rear master cylinder. It was a steal of a buy and I thought I could make a plate to fit it on the Hawk. But I ran into some issues. First, the linkage bracket for the left foot controller was in the back and was hitting the swingarm. Since I was going to have GP shifting style, cutting it off wouldn't be a problem. But even after cutting off the bracket, I was running into clearance problems with the rear part of the controller still hitting the swingarm. I ended up grinding about 1/4" off the rear. Over all it end up working out nicely.
This is what I came up with.You can see in the picture where the controller was hitting the swingarm.
After painting...
No issues on the right foot controller.
Next on the list of thing to do... was routing the rear brake line. I bought the parts from Surplus Depot that sold Earl's Performance brake lines. I found this place by accident while looking for the metal shop to make my rearset adapters. I was able to use my existing hardware that I already had so I saved myself some money. I bought 40" of braided steel line and new brass compression fittings. It is really easy to do.
First, drill a hole as big as the brake line. Since I already did the mod before, I didn't have to drill anything.
Place the braking in the hole and push it through til you grab it in the front of the swingarm. There is a access hole with a rubber cover. Measure it up to the caliper.
It should look something like this.
Slide the screw part of the banjo onto the brakeline, then place the brass compression fitting on.
Make sure all steel braids are on the outer part of the brass fitting.
Put the banjo on top... and screw it on until it is fully secure. If you have a non-adjustable banjo make sure you have it at the right degree of angle before tightening it down. But I have an adjustable one... so I'm all good.
Fit and install.
Do the same for the other side. Measure, cut if you have to and install. It's simple!
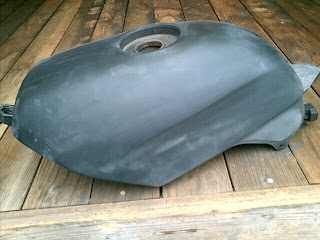
Lastly, I was able to finish painting my tank. I thought it came out okay. I still need to wet sand and buff to a shine.
First coat of low gloss black...
Final paint... needs buffing.
Your comments????


